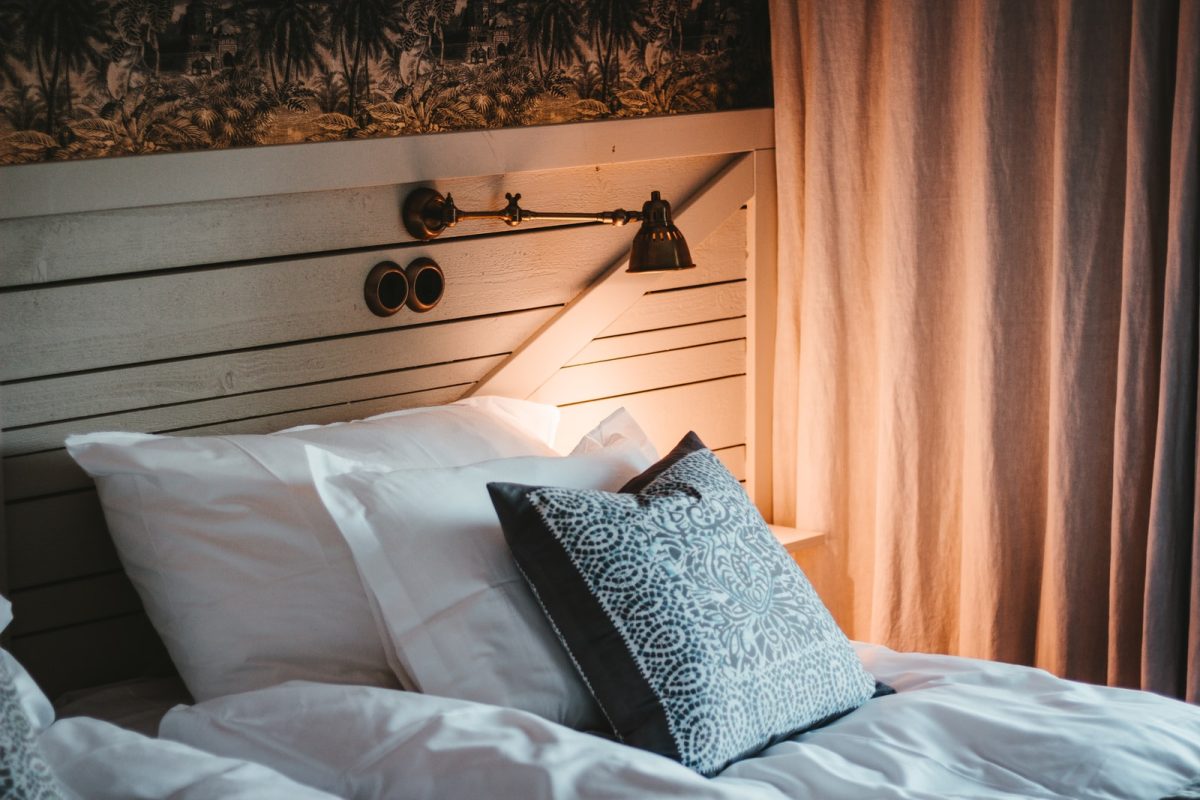
Slatted headboards are easy to make and can be made from a variety of materials, including wood, metal and plastic. Slatted headboards are generally lighter than solid wood headboards, making them easier to handle and install.
Preparing the grating
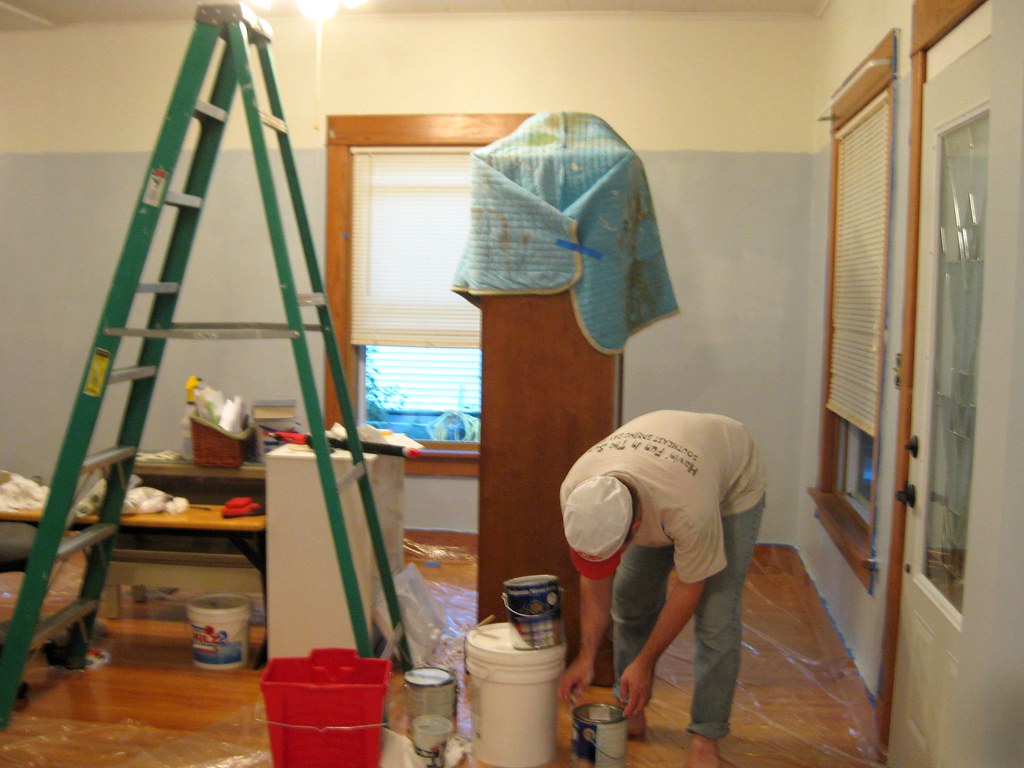
To create a modern grating, you will need some basic tools and materials. First of all, you will need a wooden grating. You can find them at most hardware or DIY stores. You will also need some nails, a drill, a wood drill bit and some paint. Start by determining where you want your grating to be.
Once you’ve decided, measure the space and mark where you want the grating legs to be placed. Drill holes in these locations and hammer in the nails. Next, take your grating and place it over the nails. Make sure the grating is aligned correctly and does not move. If you want, you can now paint it. Let the paint dry before proceeding. Once your grating is dry, you can start attaching the wooden slats to it. Start at one end and work your way to the other. Use the drill to secure the slats in place. Make sure the slats are spaced well apart and not overlapping. Once you have secured all the slats in place, your grating is almost ready. All you have to do is add a little decor. You can add cushions, blankets or even curtains. Let your imagination run wild and create a modern grating that suits you.
Assembling the grating
Grating is a type of weaving made of thin and thick rods, usually wood, that creates a textured surface. It can be used to make a modern and unique headboard. To make a slatted headboard you will need:
- 1×4 wooden planks
- Tape measure
- Marker pen
- Metal saw
- Carpenter nails
- Mallet
- Wooden cleat
- Circular saw blade
- Fine sandpaper
- Orbital sander
- Scissors
- Wood glue
- Cloth
- Wood varnish
Step 1: Measure and cut your wooden planks to the correct length. You will need two boards of each length to make a grating the size of your headboard. Make sure the ends of the boards are cut straight before continuing.
2nd step: With the measuring tape and marker, draw a straight line down the middle of each board. This line will serve as a guide so you know where to nail the boards together.
Step 3: Place the two boards of each length side by side, with the lines you drew in the middle of each board aligned. Use the hacksaw to cut a mortise into each end of the boards. A mortise is a U-shaped notch that is cut into wood. This will allow the boards to fit together.
Step 4: Nail the boards together at each end, making sure the nails are placed on either side of the line you drew down the middle of each board. Use the mallet to hammer in the nails.
Step 5: Measure the width of your headboard and cut the wooden strip to the correct length. You will use the cleat to attach the grating to the headboard. Stage
Installation of the grating
The grating is easy to install and can be painted any color to suit your decor. Here are some steps to follow to help you install your grating:
- Start by measuring the width and height of your headboard.
- Next, trace the contours of the grating on the wall using a pencil. It is important to do this step carefully so that the grating is properly aligned.
- Once you have traced the outlines, use an electric saw to cut the grating according to the dimensions you measured.
- Once the grating is cut, you can start painting it. Choose a color which will harmonize with the rest of your decor. If you are unsure which color to choose, seek advice from an interior design professional.
- Once you have painted the grating, allow it to dry completely before installing it.
- To install the grating, start by applying a layer of glue to the wall. Next, position the grating on the wall and press firmly to hold it in place. Allow the glue to dry completely before continuing.
- Once the glue is dry, you can start adding nails or screws to secure the grating to the wall. For this step, it is important to follow the manufacturer’s instructions. Once the grating is attached to the wall, you can hang curtains or fabrics on the sides to give it a more elegant look.
Finishing the grating
Once you have cut and assembled your grating, it is time to finish it. There are several ways to do this, but we recommend staining or painting it to give it a modern look. You can use any stain or paint you like, but we suggest choosing a metallic effect stain or paint for a more sophisticated look.
Once you have chosen your product, follow the manufacturer’s instructions for staining or painting your grating. Then let it dry completely before installing it in your bedroom. Once your grating is dry, you can install it.
You can attach it to the wall with screws or nails, or attach it to a wooden bed frame. If you choose to mount it on the wall, choose a location where you want your headboard to be and mark the screws or nails. Then drill holes and install the screws or nails. If you choose to attach your slatted floor to a bed frame, follow the manufacturer’s instructions. Once your grating is in place, you can add cushions or blankets for a cozier look. You can also add LED lights to it for a more modern look.
Maintenance of the grating
It is important to clean your grating regularly to prevent dirt and debris from building up. Fortunately, grating maintenance is easy and does not take much time. First of all, remember to sweep or vacuum your grating at least once a week. This will remove dust and dirt from the surface. If you have stains, you can wipe them with a damp cloth. From time to time you may need to clean your grating with a stronger product. There are many specialty cleaning products available in stores, but you can also use a product you already have in your home, such as white vinegar or ammonia. Dilute the product in water according to the manufacturer’s instructions, then use a soft cloth to rub it onto the grating. Rinse well after cleaning and allow to dry completely before replacing the furniture.
To create a modern look in your bedroom, consider create a slatted headboard. This option is easy to make and can be customized to fit your existing decor. You can choose a simple model or add details such as patterns or friezes. By following these steps, you can create a slatted headboard that will give your bedroom a modern and chic look.