Laying tiling is a very complex task that can be very intimidating for beginner DIYers. The most common mistakes can lead to unsightly results and additional costs. To avoid these mistakes and achieve professional results, it is important to know the steps to follow and tips to consider when laying tiles. In this guide, we offer you an overview of the key steps and professional tips to help you succeed in your tiling project.
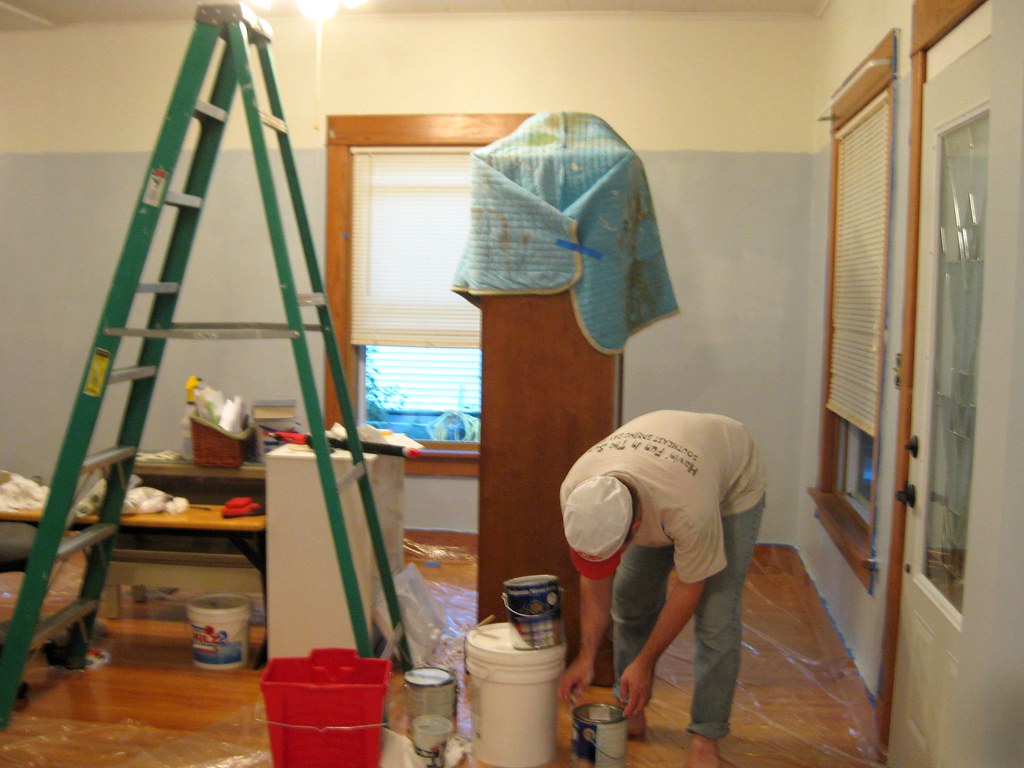
Surface preparation
Surface preparation is a crucial step in tiling. It determines the quality and durability of the final result. To achieve a perfect result, it is essential to follow rigorous preparation steps before laying the tiles. In this section we’ll walk you through the different steps you need to take to prepare your tiling surface, including cleaning, leveling and applying an undercoat if necessary. Follow these steps to ensure your surface is ready for your new tiles and to ensure a flawless result.
Surface cleaning
Before starting tiling, the surface must be completely cleaned and freed from all dirt, dust and residue. Use a damp sponge and soap to clean the entire surface and rinse it with clean water. Allow to dry completely before starting installation.
Surface leveling
After cleaning, the surface must be leveled. Use a spirit level to check if the surface is perfectly level and level. If the surface is not perfectly level, you can use a mixture of cement and sand to fill in any hollows and smooth out any bumps. Let it dry completely before moving on to laying the tiles.
Choice of tiles
When choosing tiles, it is important to choose tiles that are suitable for the surface and environment to avoid any risk of damage or improper installation. Make sure you choose tiles that fit in with the interior and exterior decor and are appropriate for the room (kitchen, bathroom, living room, etc.).
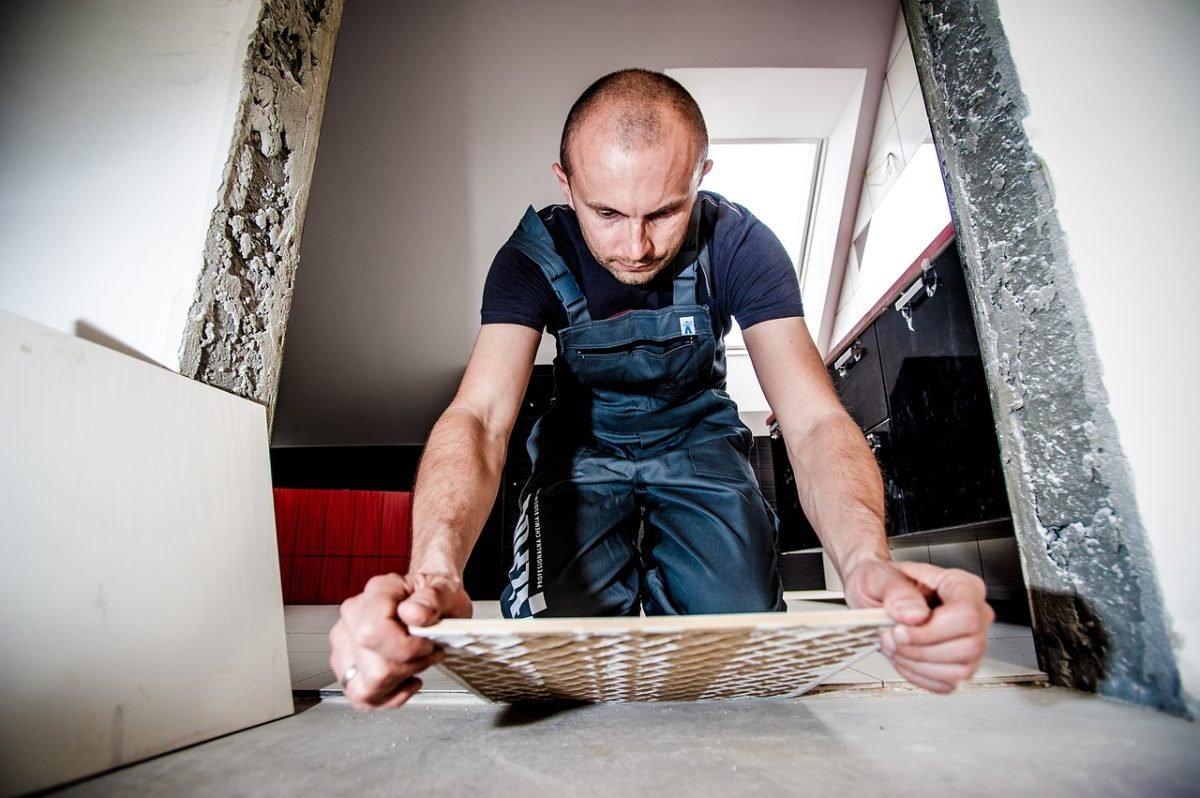
Laying tiles
Laying tiles is one of the most important steps when laying tiles, as it determines not only the aesthetics, but also the durability of your floor or wall covering. It is therefore essential to fully understand the steps and techniques necessary for successful tile installation. In this section, we’ll look in detail at the different stages of tile laying, including tile selection, cutting, mortar laying, tile laying and grouting, so you can complete your tile laying project. tiling with confidence and success.
Cutting tiles
Before laying the tiles, you may need to cut them to fit the surface. Use a tile knife to cut the tiles according to the shape and size of the surface. Be sure to measure the surface and check the fit before laying the tiles.
Laying the mortar
Once the tiles are cut, apply a layer of mortar to the surface with a notched spatula. Spread the mortar over the entire surface, making sure it is smooth and even. Allow the mortar to dry for 24 hours before laying the tiles.
Laying tiles
Once the mortar has dried, start laying the tiles. Use a level to make sure the tiles are aligned and level. Once all the tiles are laid, allow them to dry for 24 hours before moving on.
Installation techniques
The straight pose
The straight laying technique is one of the simplest and most common methods for lay tiles. It consists of laying the tiles in perfect alignment with each other, so that the joints are regular and uniform. This technique is generally used for large areas, such as floors or walls, where the aim is to achieve a uniform and even finish.
To begin, make sure the surface to be tiled is clean and level. You can use a spirit level to make sure the surface is perfectly flat. Next, choose the tiles you are going to use and lay them out on the surface to check their fit and positioning.
Once you are happy with the layout, you can begin laying the tiles. Spread a thin layer of adhesive mortar over a small section of the surface using a notched spatula. Make sure the mortar layer is uniform and regular. Then, place the first tile on the glued section, pressing firmly so that it adheres well to the mortar.
Repeat the process for the next tiles, making sure they are well aligned with each other. Use shims to maintain even spacing between tiles and to ensure joints are even. Repeat this operation until you have covered the entire surface.
Once the tiles are all in place, let them dry for about 24 hours. Then you can start grouting using a suitable grout. Apply grout to the joints using a spatula and clean off excess grout with a damp sponge.
Diagonal pose
Diagonal laying is a tiling technique that involves laying tiles diagonally rather than in a straight or horizontal direction. This technique can give a more dynamic and elegant appearance to your space and also helps hide certain imperfections in the surface to be tiled.
To begin, it is important to choose tiles of similar size to avoid large gaps between tiles and uneven installation. For cutting, it is best to cut tiles starting at the edges and corners of the piece to minimize waste.
Before laying the tiles, it is important to prepare the surface adequately by cleaning, leveling and checking that it is dry. Then, it is recommended to carry out a test installation to check that the arrangement of the tiles is correct and that the cutouts are sufficient.
For diagonal laying, it is important to start from the center of the surface to be tiled. To do this, draw a diagonal line that divides the surface into two equal parts. Start laying tiles along this line, using a notched trowel to apply mortar diagonally. Then lay the tiles one by one following this line, fixing them firmly in the mortar.
Once the tiles are laid along the center line, continue laying diagonally, working symmetrically on either side of the line. It is important to maintain a regular space between the tiles to allow for the installation of joints.
Once all the tiles are laid, allow the mortar to dry for at least 24 hours before proceeding with grouting. Use a suitable grout to fill the gaps between tiles, making sure to remove excess grout using a spatula or damp sponge.
To sum up
Laying tiles is a complex project that requires patience and attention to detail. By following the key steps and professional tips mentioned in this guide, you will be able to successfully complete your tiling project and achieve professional results. Remember to take your time and double-check each step before moving on to the next step.
Detailed list of important points
- Surface preparation
- Surface cleaning
- Surface leveling
- Choice of tiles
- Cutting tiles
- Laying the mortar
- Laying tiles
- Spacing between tiles
- Grouting tiles
- Tile sealing
- Drying tiles
- Edge finishing
- Tile cleaning
- Tile laying tools (e.g. level, tiling knife, serrated spatula)
- Installation techniques (e.g. straight installation, diagonal installation)